Zoom has a built-in option to create a simple webinar landing page with a registration form. This can help you capture the details of the people who are interested in attending your webinar.
By capturing email addresses, you can start sending email reminders as the webinar is date is approaching.
Using integrations with marketing platforms like Hubspot or Mailchimp, you can follow up with more content after the webinar and also send the recordings to those who registered but couldn’t make it to the webinar.
In this guide I will walk you through how to Customize your Zoom registration page:
- How to create a Zoom webinar registration page?
- How to add a logo and banner to the registration page?
- How to change the color scheme of the page?
- How to add or remove questions from the registration form?
- How to send email reminders for the webinar?
At the end of the guide, I will also share how to go beyond the built-in capabilities of Zoom to build a fully branded webinar registration page.
Zoom Webinar registration page example
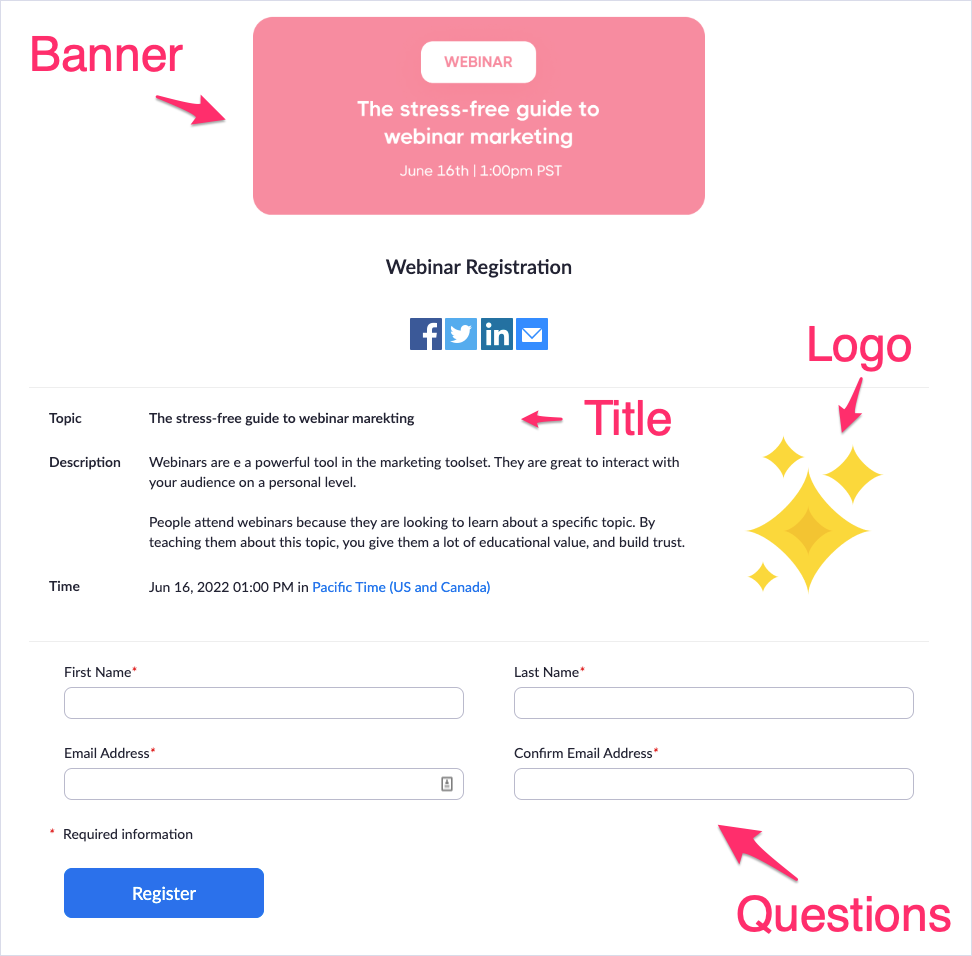
If you are wondering what a Zoom Webinar registration page looks like, here is an example.
I highlighted some key components of the registration page: The logo, banner, title and the registration form.
How do I create a Zoom webinar registration page?
You can create a Zoom registration page by checking the Required checkbox on the Registration section of your webinar or meeting settings.
Whether you are using the Zoom Webinar addon or a standard Zoom meeting, by checking this checkbox and clicking save, Zoom will create a link to your registration page.

Go ahead and view your registration page. Notice that changes to the title and description of your webinar will immediately appear on the registration page.
How do I add my logo and webinar banner?
At the bottom of the setting page for Webinar or Meeting, you will find multiple tabs. One of them is called Branding. This is the tab you should use to add a logo and a banner.

How do I change the color scheme of my webinar page?
Note: This option is only available if you purchase the Zoom Webinar addon.
You can further customize your webinar registration page by changing the theme of your webinar. The Theme options are also available from the Branding tab of your webinar settings.

- In the Theme section, click Change Theme.
- Choose one of the predefined themes or click Custom to create a theme with your own colors.
- If you click Custom, the Change Theme dialog opens, where you can choose your own colors for the Background, Header Text, and Button Color.

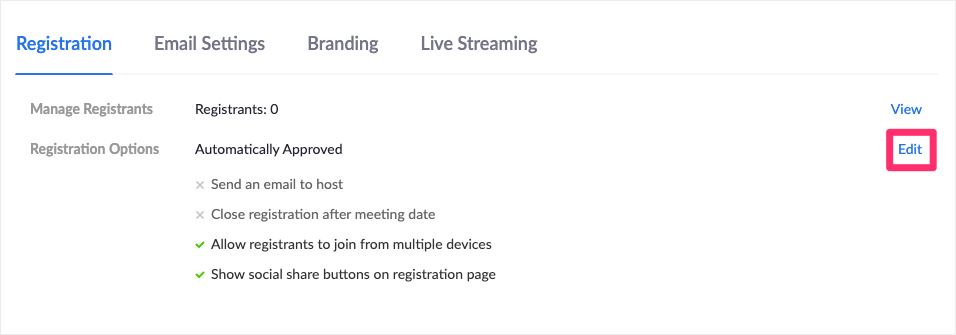
How do I add or remove questions from the registration form?
By default, Zoom will ask for First Name, Last name and Email address. Depending on your needs, you may want to capture a few more details.

You can change by editing the Registration options on the Registration tab.
A popup window will open. You can either select the questions you would like to appear from the Questions tab or create custom questions from the Custom questions tab.

How do I change email reminders for the webinar?
You can change your email reminders for the webinar through the Email Settings tab.

The Zoom Webinar addon lets you set multiple email reminders and followup emails after the webinar.

If you choose not to purchase the Zoom Webinar addon, you can still send a confirmation email upon registration. This confirmation email includes a calendar invite and the Zoom link to join the webinar, which can be extremely helpful in making sure your registrants actually attend the webinar.

How do I create a fully branded registration page for my webinar?
Zoom made it extremely easy to create a simple registration page for your webinar.
However, you may have noticed that Zoom does not provide a lot of functionality to brand your webinar registration page and emails, even if you are using the Zoom webinar addon.
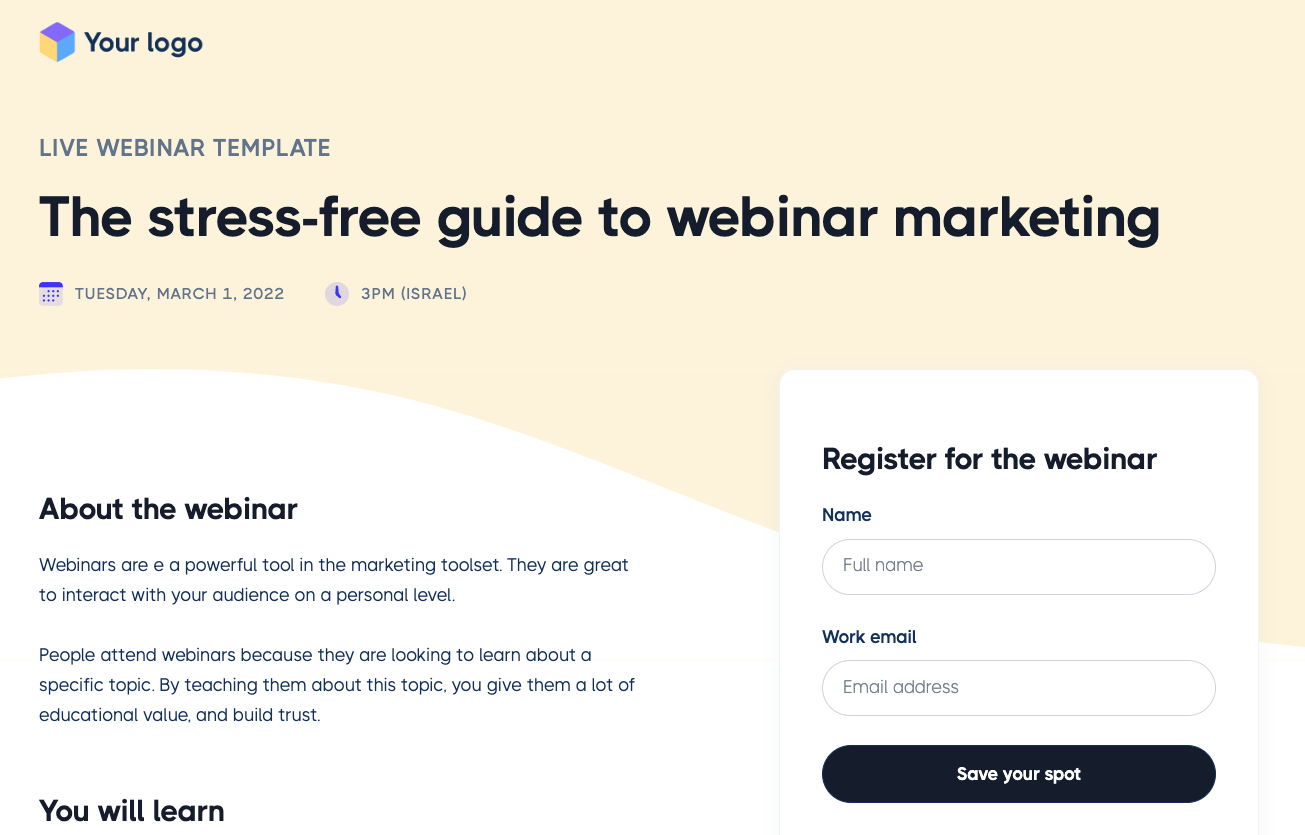
Creating your own branded registration page and email reminders can be time consuming.
Platforms like Glow to help you create fully branded registration pages and email reminders for your webinar using templates like this one.